 |
Assembly.
1. Take the Bearings (3) and push them into the T-Bar (1). (one at each end, and one in the "tongue'" of the T-Bar).
2. Using some self stick sandpaper of your choice as to grit to do the job, cut and affix a 1" by 3" strip to the face of the T-Bar. (This is readily changed when required.) To fully utilize the sandpaper, simply flip the T-Bar 180 degrees to use the opposite edge.
Just unscrew an End Plate from one side and slide the T- Bar off to invert it.
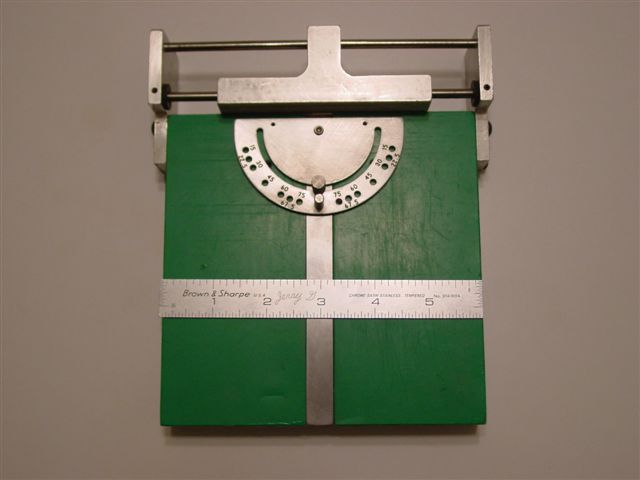
3. Using double sided tape, secure the Wear Strips to the top surface of the Baseplate.
4. Fasten the Bottom Pad to the bottom of the Baseplate (This prevents slippage while in use)
5. Slip the Guide Rods into the T-Bar Bearings.
6. Slip a Bumper on each end of the forward Guide Rod.
7. The End Plates are then pushed onto the Guide Rods in the holes provided.
8. Using the Button Head Screws, fasten the end plates to each side of the Baseplate.
9. Insert the set screws into the end plates, and tighten the 4-40 setscrews to the guide rods.
10. Adjust the End Plates so the front surface of the T-bar with the sandpaper strip is parallel to the face of the front surface of the Baseplate without touching it.
11. A good way to do this is to put a piece of paper between the T-Bar and the Baseplate because paper is .003" thick.
12. Now fasten the end plates securely to the Baseplate using a 1/8" Allen wrench.
13. The miter was purchased from Jim Byrnes "Model Machines" of Florida.
That is about it. The Universal Sander is ready to go....
Jerry G (Glickstein)
"
(more->Click
Next below)
|